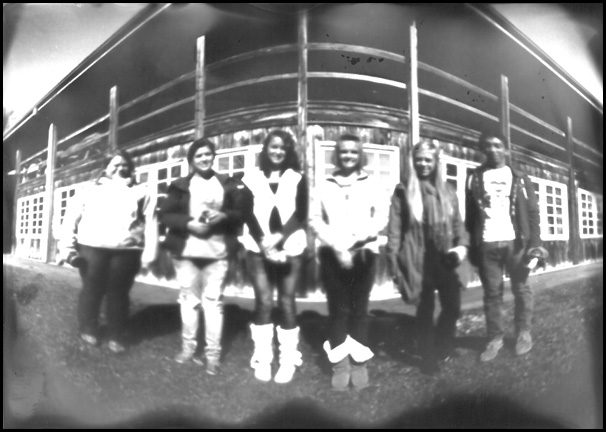
When we take a photograph, we are capturing the light that is reflected off of something. Imagine a person wearing a cap. The sunlight hits the cap in a straight line and bounces off the cap at a 90 degree angle. The light that bounces off is the image that we see. When we take a photograph it is that light that exposes photosensitive chemicals to make an image. This all might sound very theoretical, but when working with a pinhole camera, the basic functions of photography become exposed (no pun intended). Recently, Mitchell County high school students were invited to participate in a free photography workshop on the Penland School of Crafts campus. The workshop, conducted by Robin Dreyer, focused on pinhole photography. The Penland photography studio was set-up with equipment for students to take, develop, and experiment with pinhole photography.
To make your own camera obscura, follow these simple steps:
1. Cover the inside of a large aluminum can with black spray paint.
2. Drill a ¼ inch hole into the side.
3. Cut a 2 x 2 inch piece of pie tin and poke a tiny hole in it with a needle.
4. Sand the hole to remove any debris.
5. Place the pie tin over the larger drilled hole and secure it with masking tape to ensure light is only coming through the tiny pin hole.
6. Place a removable piece of tape over the pinhole to temporarily block light.
7. Create a top using an opaque material secured with a rubber band.
8. Inside a dark room, Place photo sensitive paper into the can and secure the lid on the can.
9. On a sunny day, find a brightly lit scene and pull back the removable piece of tape for four seconds exposing the pin hole.
10. Find a friend with a dark room to develop the photo.
11. Enjoy your pinhole picture!
– Shannon Moon, Community Collaborations

